how to & frequently asked questions
So you are interested but you don't know where and how to begin? Or feeling a little bit lost and overwhelmed? No worries, below you can find a comprehensive guide and description of how to work with language memos, what workflow we recommend and more.In case some questions still remain unanswered, feel free to let us know! We would love hearing from you!
There are two ways how to create new student in Language Memos.
- Through + sign on your dashboard
- Through selecting Create new student option in the menu on the top right
The given name is only visible by the teacher.
With language memos, we tried to focus on keeping the app as simple as possible for the student. Therefore your student will not be required to register in any way. All of his information and resources created by the teacher will be available through a unique link. We recommend that students bookmark this link as it will always stay the same.
The link for the student can be easily copied via students options on the dashboard and options in the top right corner on students page.
Alternatively, you can copy the students page URL and delete the /teacher at the end.
Example:
https://language-memos.com/263981039369585324/teacher
https://language-memos.com/263981039369585324
Students can see pretty much the same site as the teacher, however functionality of this site is very limited. For the most part, the student is not allowed to change any information, enter new memos, evaluate their own tests etc. They can go through those memos, run tests to revise memos, and mark memos that are not clear as such (more about not clear under Managing memos/Tags).
In case you need to transfer students profile to different teacher with language memos account, you can follow these simple steps.
- On the dashboard unlock student through student options.
- Copy students link
- Send the link to the new teacher
The new teacher then has to follow those steps:
- Through options in the top right corner select Add existing student
- Enter new students name
- Paste code/link into the second input field
- Link student
If this process was successful, the student will disappear from the original teacher's dashboard, however the student will be still visible/accessible for the original teacher until the new teacher confirms this transfer by steps above. As long as the student remains "locked", no other teacher will be able to link them to their account.
If you created student before language memos app supported accounts and therefore your student is not linked to your teacher account, all you have to do is use Add existing student and use the old students link as a code.
In language memos, we support 3 different memo categories.
- Pronunciation
- Mistakes
- New vocabulary

Pronunciation
Category used to mark mistakes in students pronunciation of words and phrases. Memos created in this category allow students to listen to the pronunciation via text to speech functionality by clicking the icon on the right side of the memo.
In order for this functionality to work properly, we recommend always creating memo as short as possible, either a word or a simple phrase where students pronunciation mistake occurs.
Examples
- nature vs. natural
- simultaneously
The creation tag is P. and the category colour is Purple.
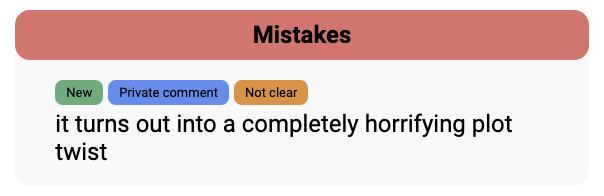
Mistakes
Category used to mark students general and grammar mistakes.
Examples
- This meal was very exquisite.
- it turns out into a completely horrifying plot twist
The creation tag is M. (and X. for users that started using the app before this change) and the category colour is Red.
New vocabulary
Category used to mark new words and phrases that could enhance students existing vocabulary. Let's say you realise the student keeps using the same word over and over again, you can offer them a synonym and write the memo down into this column. Since the memos in this category will be completely new for the student we recommend putting more effort in Public comment for this specific category.
Examples
- our components are of .... quality
- hinge
The creation tag is V. and the category colour is Green.
The core idea of the app is the ability to create memos with the least amount of disruption to the flow of the lesson. That's why we completely ruled out any unnecessary clicks, site dialogues etc. With language memos, you will be able to set the cursor in the new memo input field, create memos and never leave it until the end of the lesson.
The memo creation is as simple as typing the creation tag for the category you want this memo in and the memo itself and pressing Enter:
[the creation tag] + [the memo title] + enterExamples:
M.+it turns out into a completely horrifying plot twist+ enter This would create a memo "it turns out into a completely horrifying plot twist" under the category Mistakes.P.+nature vs. natural+ enter This would create a memo "nature vs. natural" under the category Pronunciation.V.+hinge+ enter This would create a memo "hinge" under the category New vocabulary.
Colour of the input field border represents the category corresponding to the current creation tag in the input field. As long as the colour of the border matches the category colour, you are good to go! In case the category creation tag wasn't entered properly, the border will stay the same and the memo will not be submitted after pressing enter.
The input field accepts both lower and upper case creation tags.
If you are ever unsure of creation tags, you can simply the hover cursor over the specific category header or the input field itself.
You can click on the memo to open the edit memo dialogue. From here you can edit the memo itself and change comments.
Comments are further text informations about the memo.
Public comments are visible both for you and your student. This is a good place for hints, context in which the memo was originally mentioned, some explanation, etc. Public comment is visible in the memos list and in the tests. We especially recommend using a lot of public comments in the New vocabulary category.
Private comments are only visible for the teacher. This is a good place to store the correct answer, context in which the student made the error etc. This comment is also visible for the teacher during the test.
Tags are indicators that help you see certain information about the memo aat the first glance. They are displayed above every tagged memo.
Each tag has a different purpose, functionality and meaning.
Language memos app currently works with 3 types of tags.
- New
- Private comment
- Not clear
New
Memos marked with New tag were introduced during the most recent date with new memos. Memos stay tagged as New until new memos are introduced at a later date.
Private comment
Memos marked with Private comment contain Private comment (more under Managing memos/Comments). While the public comment is always visible, the private comment is only visible after opening the memo dialogue by the teacher. Therefore we introduced a Private comment tag to help teachers find those comments more easily. Since the private comment can be only viewed by the teacher, this tag is also visible only for the teacher.
Not clear
Memos marked with Not clear were marked as being not clear by student. The purpose of this tag is to help you as a teacher identify memos that student has problems with without the need for the student to remember all those specific memos until the closest lesson.
Let's say the student doesn't understand what is wrong with a specific memo in the category Mistake. This memo can be tagged as not clear in two ways.
- From a memos list view
- From a student-created test
If the student changes their mind, they can unmark memo as not clear from the memos list view at any time by simply clicking on this tag for the specific memo.
Once the memo is marked as Not clear by the student, two things are gonna happen.
- The memo will no longer appear in the test created by the student until the tag is removed. The reason for this is that we don't want the student to get discouraged by displaying something that is not clear for them over and over again.
- The memos that are marked as Nor clear will be the first ones to appear during the test created by the teacher. During this test, the teacher can go through this memo with the student and explain what was previously unclear. This tag will be automatically removed once this memo is evaluated during this test with the teacher, as we assume that the teacher explained this memo and we assume the memo is no longer unclear after this explanation.
Tests can be created from a number of places.
For teacher:
- Dashboard students options
- Top right menu while on students page
- Test the student button on the top right while on the students page
For student:
- Test yourself button on the top right
After creating the test as a teacher, the link will be automatically copied to your clipboard and you will be redirected to the test. You have to send this link to the student in order for you to do this test together during the lesson (for example as a warm-up).
Alternatively, you can copy the test page URL and delete the /teacher at the end and send this to the student.
Example:
https://language-memos.com/test/263981039369585324/teacher
https://language-memos.com/test/263981039369585324
Once you create a test and both you and your student are on the test page, the two of you will see s slightly different view. You'll both be able to see the memo category, memo itself, public comment and in case the memo is marked as Not clear the tag will be present.
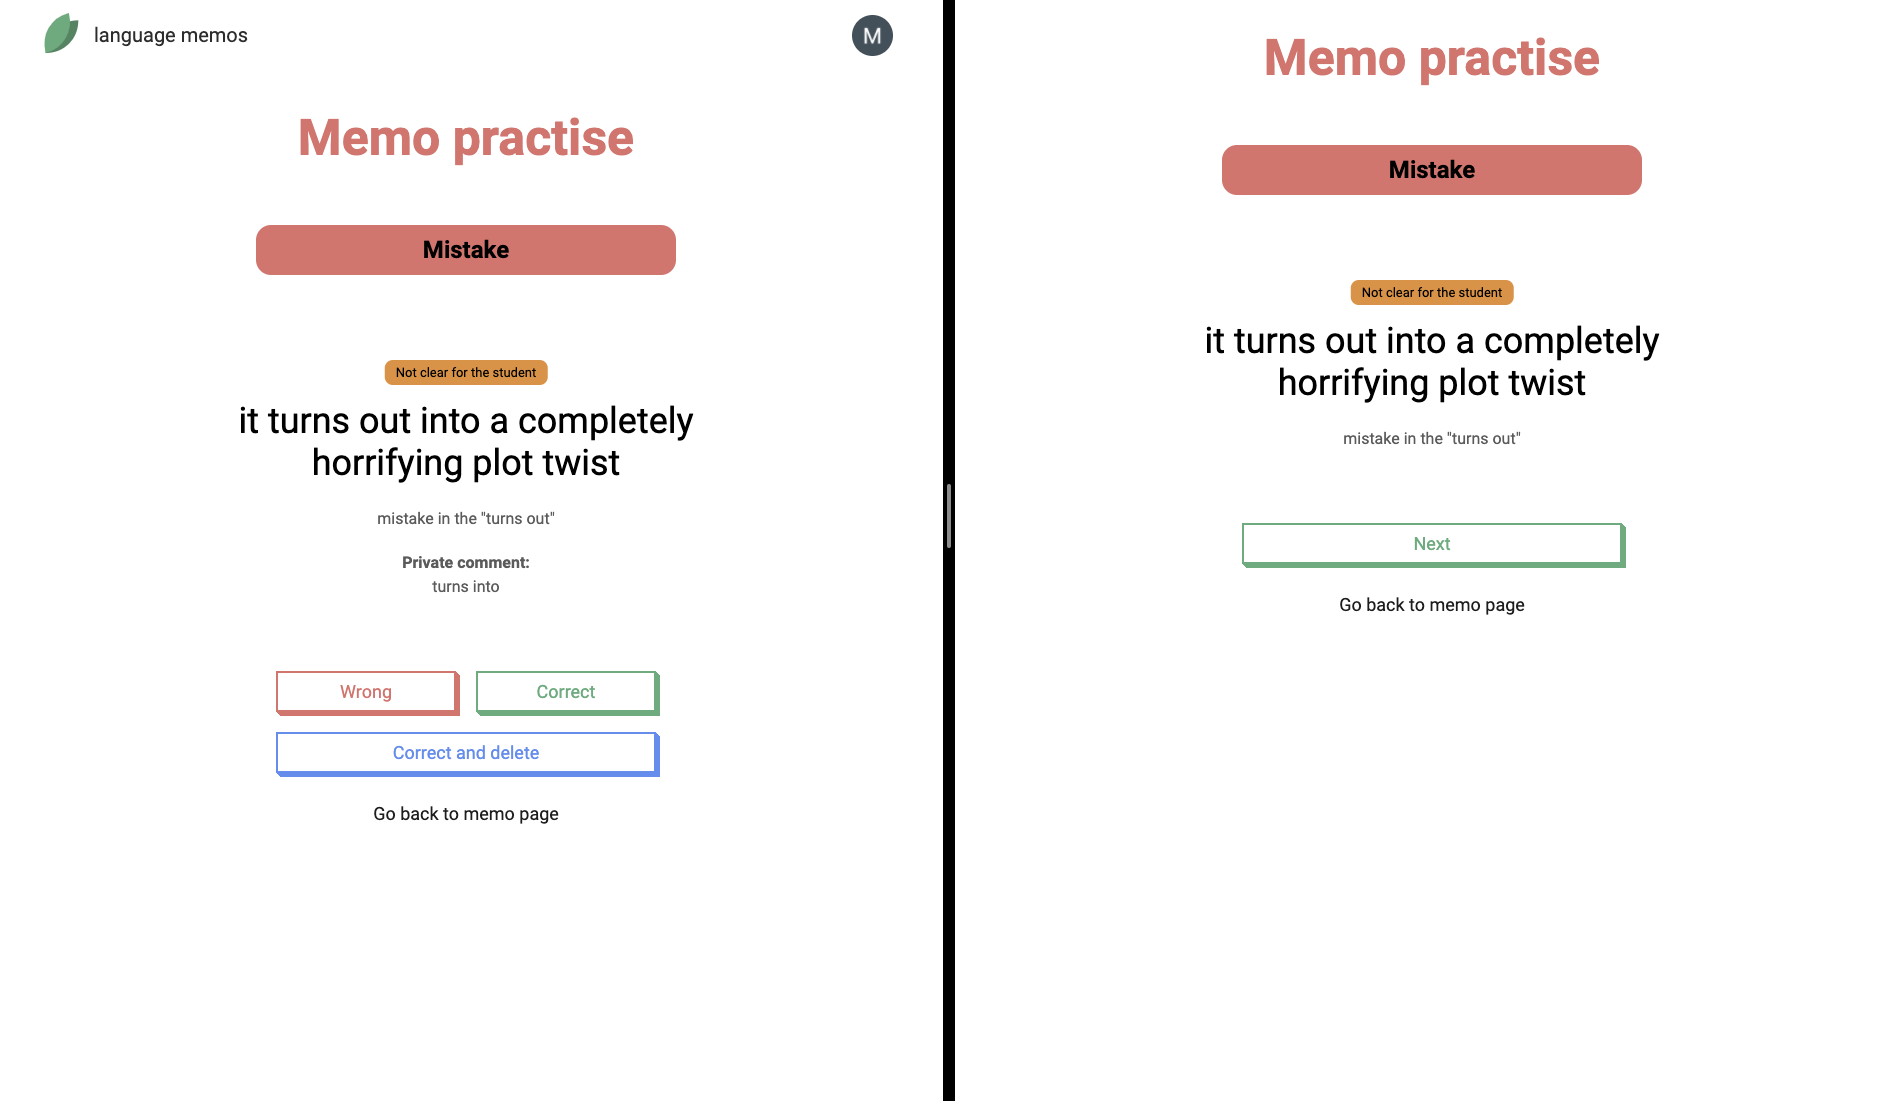
Left view - teacher
Right view - student
While the teacher view contains Correct, Wrong and Correct and deletebuttons, the students view contains only the Next button. On top of that, the teacher view also contains the Private comment previously created by the teacher.
Wrong button
Used to mark students answer as incorrect, will worsen students score for this specific memo and proceed to the next one.
Correct button
Used to mark students answer as correct, will improve students score for this specific memo and proceed to the next one.
Correct and delete button
Used to mark students answer as correct, delete this memo and proceed to the next one. Recommended to be used after this specific memo was correctly answered a number of times and is no longer necessary. We consider this a good practise and a good way to clean up the students memo page from old memos.
After the teacher evaluates the students answer (and therefore is moved to the next memo), the student should click Next in order to proceed to the next memo as well. Feel free to repeat this process on as many memos as you feel fit. We definitely don't recommend going through all the memos, especially as the memo count raises with each lesson. Find the number of memos that fits you the best and roll with it!
We use our own algorithm to generate tests. Thanks to teachers evaluation we are able to prioritise problematic memos over the ones that are clear. However, we are trying to keep balance and keep showing the successful ones as well from time to time. We also prioritise new memos (memos introduced during the last lesson) and the highest priority are memos that are marked as Not clear. If present, they are always placed first. The reason for this is to help the student by clarifying what's not clear and to prevent them from piling up as they are effectively useless and not bringing any value to the student.
Test created by the student doesn't contain any form of evaluation of the answers. This functionality is purely aimed to revise memos one by one while prioritising previously problematic and new memos. The only difference compared to teacher-created tests for the student is the presence of the Not clear button which can be used to mark this memo with the Not cleartag.
The memos that are currently marked as not clear will not be present in the next test created by the student as we don't want to discourage and frustrate the student. If the student uses this functionality to prepare for the warm-up with the teacher, the memos will not be 100% the same, however there will be some resemblance as we use the same algorithm to generate memo priority order.
Notes are very similar to Comments. The only difference is that while comments are Memo specific (you can create comment for each memo), the Notes are student-specific. Therefore there is only one Private and Public note for each student. Notes should be place where you store general information about the student. The homework, interesting links, assignments, notes etc. tag.
The public note can be viewed by the student. This is the place where you can store homework, links (links are clickable for the student). After every lesson, you can update this note to be up to date. This way the app becomes the single place for student to look at for resources while preparing for the lesson.
The private note can be viewed only by the teacher. This place can be used to store more of logistical information about the student/lessons. We recommend keeping this information separate from public note, as that might overwhelm/confuse the student. This is a good place to store for example topics to be covered in the next lessons, etc.
There are two options how to create either public or private note.
- Dashboard From the dashboard you can access both public and private note for all of your students by clicking on the students options and Public/Private note.
- Students page From the students page through the options in the top right you can access current students notes.

